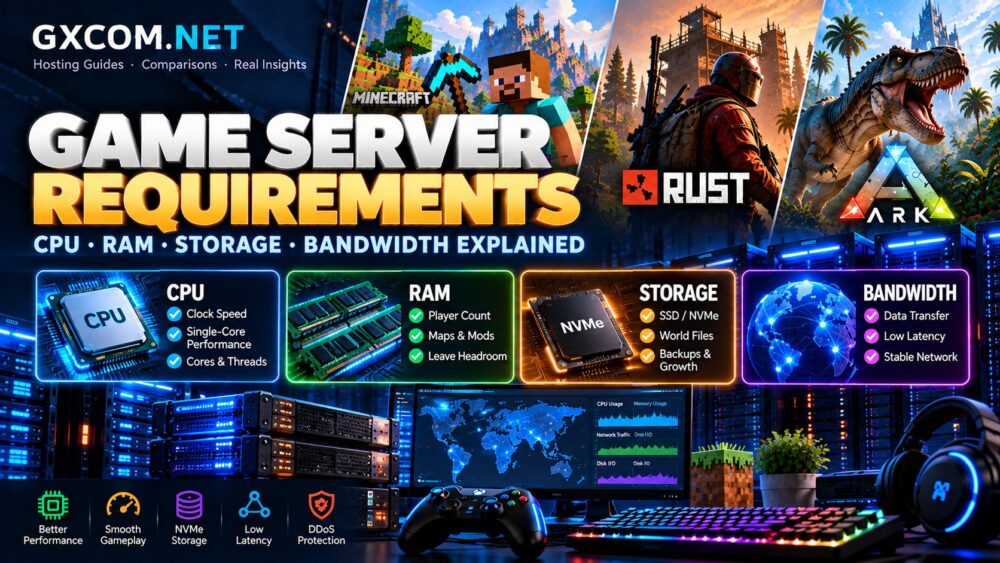
You can run a server at home, rent a gaming VPS, choose managed game hosting, or use dedicated hardware. Each approach offers different levels of performance, flexibility, and maintenance responsibility.
This guide walks through the essential setup process, from selecting hardware to configuring network access, securing your server, and keeping it running reliably.
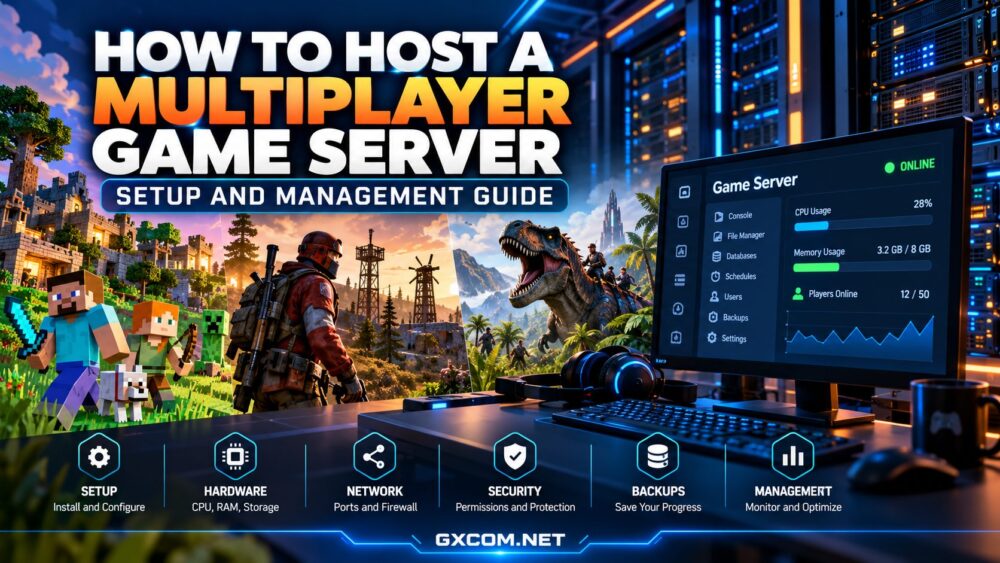
Step 1: Choose Your Game and Hosting Method
Before renting hardware, identify the exact game and edition you want to host. Minecraft Java and Bedrock require different server software, while ARK: Survival Ascended and ARK: Survival Evolved also have distinct hosting requirements.
| Hosting Method | Main Advantage | Main Limitation |
|---|---|---|
| Home Computer | Uses existing hardware | Home network and uptime limitations |
| Managed Game Hosting | Convenient control panel and setup | Less operating system control |
| Gaming VPS | Root access and flexible configuration | Requires system administration |
| Dedicated Server | Exclusive physical hardware | More maintenance responsibility |
For beginners, managed hosting is often the simplest approach. Experienced administrators may prefer a VPS or dedicated machine.
Our game server hosting explained guide provides a more detailed introduction to these hosting models.
Step 2: Estimate CPU, RAM, and Storage Requirements
Hardware requirements depend on the game, number of active players, mods, maps, and simulation complexity.
CPU: Strong per-core performance is particularly important for simulation-heavy games. Additional cores can help when running multiple instances.
RAM: Allow enough memory for the game world, operating system, plugins, and peak activity. Modded servers may need significantly more.
Storage: SSD or NVMe storage is preferable for fast loading, updates, and world saves. Reserve extra space for backups.
Network: Choose a location near your players and verify the provider's traffic limits, routing quality, and DDoS protection.
For detailed hardware planning, read our game server requirements guide.
Step 3: Prepare Your Hosting Environment
If you choose managed hosting, create an account, select the supported game, choose a location, and configure the plan through the provider's control panel.
For a self-managed VPS or dedicated server, the process typically involves:
- Installing a supported operating system.
- Applying security updates.
- Creating a non-administrator service account where practical.
- Installing the game's required runtime and dependencies.
- Configuring firewall rules and remote administration.
- Preparing directories for game files, logs, and backups.
Always consult the official dedicated-server documentation for your specific game. Do not assume every game supports Linux or uses the same installation tools.
Step 4: Install the Dedicated Game Server Software
Download the official server package or use the installation method recommended by the game's developer.
Minecraft Java Edition
Minecraft Java servers require a compatible Java runtime and the official server JAR. After the initial launch, review the generated configuration files and accept the Minecraft EULA only after reading its terms.

A typical launch command resembles:
java -Xms2G -Xmx4G -jar server.jar noguiReplace server.jar with the actual downloaded filename and adjust the memory settings to suit your machine. Do not allocate all available system memory to Java.
Rust and Other Steam-Based Games
Some dedicated game servers use SteamCMD to download and update their files. Installation commands, application IDs, operating system support, and launch parameters vary by title.
Follow the relevant game's official instructions rather than copying commands from another game.
ARK Servers
Confirm whether you are installing ARK: Survival Evolved or ARK: Survival Ascended. Their software, resource requirements, and compatibility are not interchangeable.
Step 5: Configure Server Settings and Player Access
After installation, customize the server name, maximum players, gameplay rules, passwords, administrator permissions, and mod settings.
Use strong administrator credentials and restrict access to remote management tools. Avoid publishing administration passwords or API tokens.
For private communities, consider a whitelist or allowlist when supported. Public servers may need additional moderation and anti-abuse tools.
Step 6: Configure Ports, Firewall, and Networking
Players must be able to reach the game server through the correct network ports. These vary by game and may use TCP, UDP, or both.
Minecraft Java commonly uses TCP port 25565 by default, but other games require different ports. Confirm the exact requirements in the game's documentation.
On a home network, you may need router port forwarding and a suitable public IP address. Carrier-grade NAT can prevent ordinary inbound connections unless your provider offers an alternative.
On a VPS or dedicated server, configure both the operating system firewall and any cloud-provider firewall rules.
Open only the ports required for gameplay and administration. Never expose remote management interfaces unnecessarily.
Step 7: Test the Server Before Inviting Players
Start the server and review its console output for errors. Connect using the appropriate game client and verify that the world loads correctly.
Invite a small number of trusted players to test:
- Login and connection stability.
- Latency and responsiveness.
- Gameplay settings and permissions.
- Mods and plugin compatibility.
- World saving and restart behavior.
Test from outside the hosting network when possible. A successful local connection does not always prove that remote players can connect.
Step 8: Set Up Backups and Automatic Restarts
Backups are essential for persistent multiplayer worlds. Hardware failures, corrupted saves, incompatible updates, and administrator mistakes can all cause data loss.
Schedule backups based on how frequently your world changes. Keep at least one recoverable copy outside the active game server.
Periodically test restoration rather than assuming every backup is usable.
Use scheduled restarts only when appropriate for the game and community. Announce planned maintenance so players can save progress and disconnect safely.
Step 9: Monitor Performance and Manage Updates
Track CPU utilization, memory usage, disk capacity, network activity, and server logs. Where available, also monitor game-specific metrics such as tick rate or server FPS.
Investigate sustained bottlenecks before upgrading. Low performance may result from oversized maps, excessive entities, problematic mods, or network issues rather than insufficient RAM alone.
Apply security and game updates promptly, but back up important data and verify mod compatibility before major changes.
Step 10: Choose the Right Hosting Provider
Managed hosting can reduce setup complexity, while a gaming VPS or dedicated server offers greater control. Consider these providers according to your game and technical experience.
Host Havoc — Managed Multiplayer Hosting
Host Havoc is worth considering for administrators who want a managed hosting environment, game-specific configuration options, and less operating system maintenance.
Sparked Host — Minecraft Hosting
Sparked Host provides Minecraft hosting options suitable for comparing memory tiers, server management features, and upgrade flexibility.
Shockbyte — Managed Game Server Options
Shockbyte offers managed hosting for several multiplayer games. Verify the exact supported game, edition, and current plan resources before ordering.
GameServerKings — Rust and Dedicated Hosting
GameServerKings is relevant for Rust communities and administrators comparing managed game hosting with dedicated server infrastructure.
AlphaVPS — Self-Managed Gaming Infrastructure
AlphaVPS provides VPS and dedicated server infrastructure that may suit experienced administrators installing their own supported game servers.
Unlike managed game hosting, a general-purpose VPS requires you to handle game installation, security, updates, and troubleshooting. Check virtualization compatibility and CPU allocation before deployment.
For a broader comparison, see our best game server hosting providers guide.
Common Multiplayer Server Problems
Players Cannot Connect
Check the server process, public address, port configuration, firewall rules, game version, and network address translation.
The Server Is Lagging
Review CPU usage, memory pressure, game simulation metrics, mod behavior, and network latency. Identify the bottleneck before upgrading hardware.
World Data Is Missing
Stop the server safely and inspect available backups. Avoid overwriting the remaining files before determining the cause.
Mods Stop Working After Updates
Check compatibility notes, update dependencies, and test changes in a separate environment when possible.
Managed Hosting vs Self-Hosting: Which Is Better?
Managed hosting is often better for beginners who want to launch quickly and minimize maintenance. Self-hosting offers greater control but requires more technical knowledge and ongoing administration.
For large communities running multiple instances, dedicated hardware may be worth evaluating. Our best dedicated game servers comparison explains the relevant hardware choices.
Frequently Asked Questions
Can I host a multiplayer game server for free?
You can use existing hardware and freely available dedicated-server software for supported games, but electricity, internet access, hardware, and maintenance still have costs.
Do I need a GPU for a dedicated game server?
Many headless dedicated game servers do not need a gaming GPU. Check the specific game's server software requirements before purchasing hardware.
Is a VPS enough for multiplayer hosting?
A VPS can be suitable when it provides enough CPU, RAM, storage, and network capacity and supports the required game server software.
How do I keep my server online?
Use reliable hosting, automatic service recovery where appropriate, monitoring, regular backups, and a documented update process.
Final Verdict
Hosting a multiplayer game server successfully requires more than installing game files. You need appropriate hardware, secure networking, reliable backups, performance monitoring, and consistent maintenance.
GXCOM.NET recommendation: Start with managed hosting if convenience is your priority. Choose a VPS or dedicated server when you need deeper control and are prepared to maintain the environment yourself. Test your configuration before inviting a large community.