Running your own Rust server gives you control over the map, player limits, gameplay rules, and community experience. Whether you want a private survival world for friends or a public server with custom plugins, the process begins with installing the official dedicated server software.
Learning how to set up a Rust dedicated server is easier when you understand the essential steps: choosing suitable hardware, downloading the server through SteamCMD, configuring startup settings, opening the correct ports, and maintaining the installation.
This guide walks through those steps using practical examples for Linux and Windows, while explaining when managed Rust hosting may be a better alternative.
Rust Dedicated Server Requirements
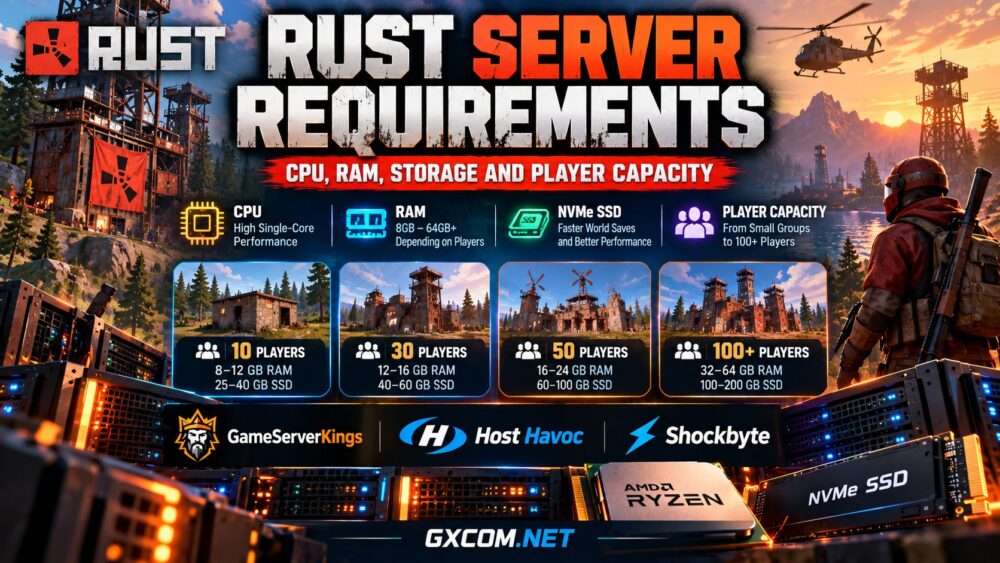
Rust can be demanding, especially on larger maps with active players, buildings, and plugins. Facepunch lists 12 GB of free RAM and 15 GB of available disk space as baseline server requirements, with larger worlds requiring additional resources. SSD or NVMe storage is strongly preferred.
A modern CPU with strong single-thread performance is important for responsive gameplay. You should also allow memory for the operating system, server updates, backups, and any additional applications.
For a public community, choose a reliable data center location near your players and verify that the hosting environment provides suitable DDoS protection. Our Rust server requirements guide explores resource planning in more detail.
You can install Rust on your own computer, a compatible VPS, or dedicated hardware. However, running a public server from home introduces additional concerns involving internet upload capacity, port forwarding, security, and uptime.
Step 1: Install SteamCMD and Download Rust
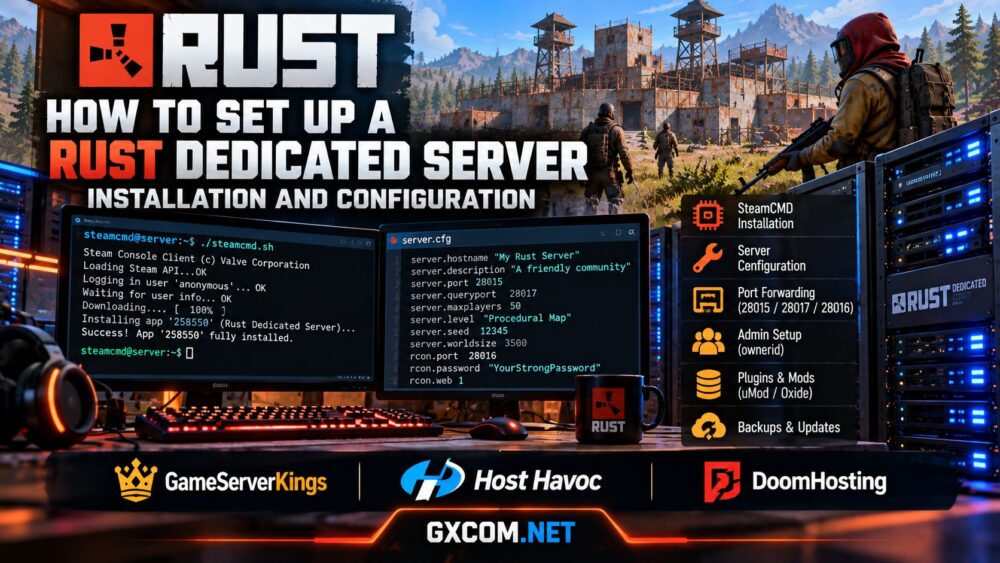
Rust Dedicated Server is distributed through SteamCMD using application ID 258550. You can download the server anonymously without purchasing an additional copy of Rust for the hosting machine.
On a Linux server, begin by creating separate directories for SteamCMD and the game files:
mkdir -p ~/steamcmd ~/rustserver
cd ~/steamcmd

wget https://steamcdn-a.akamaihd.net/client/installer/steamcmd_linux.tar.gz
tar -xzf steamcmd_linux.tar.gz
chmod +x steamcmd.sh
Next, download and validate the Rust server installation:
./steamcmd.sh +force_install_dir "$HOME/rustserver" +login anonymous +app_update 258550 validate +quit
On Windows, download SteamCMD from Valve, extract it into a dedicated folder, and run a comparable command:
steamcmd.exe +force_install_dir C:\RustServer +login anonymous +app_update 258550 validate +quit
After installation, the server files will be available in the selected directory. Make sure the system has the required runtime dependencies and sufficient free storage before proceeding.
Step 2: Configure and Start the Rust Server
The server starts through the RustDedicated executable. Startup parameters define the game port, map, world size, player capacity, server identity, and remote administration settings.

On Windows, create a file named start-rust.bat inside your server directory and add:
@echo off
RustDedicated.exe -batchmode ^
+server.port 28015 ^
+server.queryport 28017 ^
+server.level "Procedural Map" ^
+server.seed 12345 ^
+server.worldsize 3500 ^
+server.maxplayers 20 ^
+server.hostname "My Rust Community" ^
+server.identity "rustserver1" ^
+rcon.port 28016 ^
+rcon.password "REPLACE_WITH_A_LONG_RANDOM_PASSWORD" ^
+rcon.web 1 ^
-logfile rustserver.log
pause
For Linux, use the same server parameters with the installed RustDedicated executable, replacing Windows batch syntax with a shell script. Keep the script executable and run the server under a dedicated, non-root user.
The example uses a 3500-size procedural map and a 20-player limit as starting configuration values, not guaranteed capacity recommendations. Actual performance depends on your hardware and player activity.
Never leave the example RCON password unchanged. Generate a unique, strong password and protect startup scripts containing credentials.
Step 3: Configure Ports, Firewall, and Server Settings
Rust uses separate ports for gameplay, server discovery, and remote administration. In the example above, the game port is 28015/UDP, the query port is 28017/UDP, and RCON uses 28016/TCP.
The game and query ports must be reachable for normal public server operation and discovery. The query port must be different from the game port. If your server is behind a router, configure the necessary port forwarding as well as the operating system firewall.
For security, restrict RCON access to trusted administrator IP addresses or a private management network whenever possible. Avoid exposing remote administration unnecessarily.
You can place additional configuration values in:
rustserver/server/rustserver1/cfg/server.cfg
For example:
server.hostname "My Rust Community"
server.description "A friendly Rust survival server"
server.maxplayers 20
The configuration file is useful for maintaining gameplay settings without repeatedly editing a long startup command. Remember that settings in server.cfg can override corresponding startup parameters.
Step 4: Connect, Add Administrators, and Test Gameplay
After starting the server, wait for the startup process to finish. Map generation and initial loading can take several minutes.
Launch Rust, open the F1 console, and connect using your public server address:
connect YOUR_SERVER_IP:28015
If the game client runs on the same machine, you can use connect localhost:28015 instead.
To grant administrator permissions, identify your SteamID64 and run the following command in the server console or through an authorized RCON connection:
ownerid YOUR_STEAMID64 "YourPlayerName"
Reconnect after assigning the role. Test player connections, server discovery, world saving, and remote administration before inviting a larger community.
If players cannot connect, verify the public IP address, firewall rules, port forwarding, server logs, and whether the game and server versions match.
Step 5: Maintain Performance, Plugins, and Backups
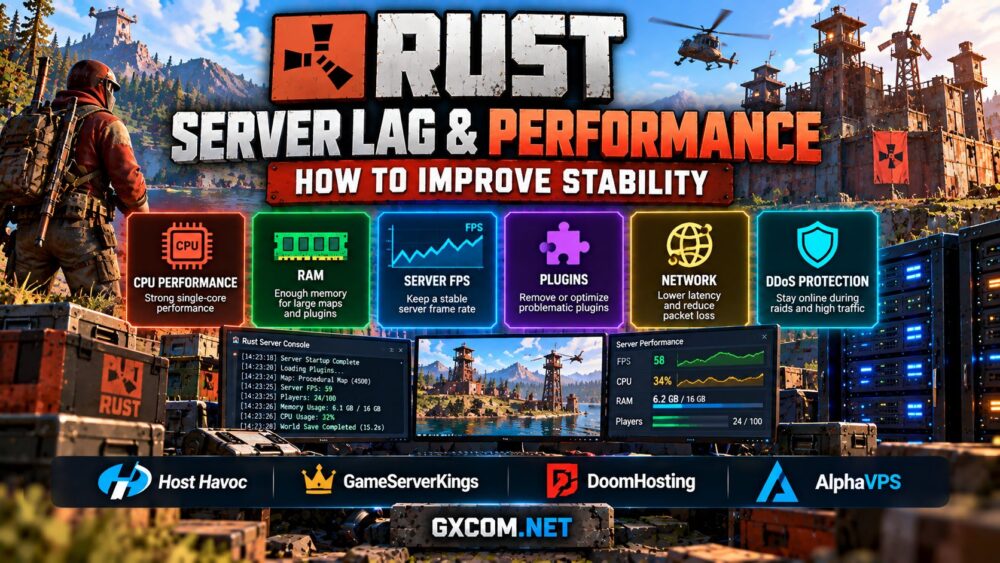
A Rust server needs ongoing maintenance after the first successful launch. Update the server when new game builds become available, monitor memory and CPU usage, and review logs for recurring errors.
Use SteamCMD to update the installation, preferably after creating a backup and stopping the server safely. If you install uMod/Oxide or another compatible plugin framework, check its update requirements because validating the vanilla installation may overwrite modified files.
Regular backups should include world saves, configuration files, player data, and plugin settings where applicable. Store recovery copies outside the active game server and test restoration before relying on them.
As your community grows, monitor simulation performance during peak activity rather than judging capacity only by the configured player limit. Our AMD Ryzen dedicated game server guide explains how CPU selection affects demanding multiplayer workloads.
Self-Hosting vs Managed Rust Server Hosting
Installing Rust yourself provides substantial flexibility, but it also means taking responsibility for updates, firewall configuration, backups, troubleshooting, and server security.
For administrators who prefer a ready-to-use environment, managed game hosting can simplify daily operations.
GameServerKings offers Rust-focused hosting with a game management panel, backup tools, and server configuration features. It is a relevant option for communities that want to concentrate on gameplay and administration rather than the underlying installation.

Host Havoc provides Rust hosting with a control panel, file management, plugin support, and DDoS protection. It may suit administrators who want accessible management tools while retaining control over game settings.
DoomHosting is another Rust hosting option worth comparing for communities evaluating managed deployment. Check its available locations, resource allocations, and support for your intended plugins before ordering.
These services are not identical to renting an unmanaged physical server. Compare the included management features, available resources, and level of system access before choosing. Our best Rust server hosting comparison helps narrow the available options.
If you are deciding between a virtual machine and physical hardware, see our gaming VPS vs dedicated server guide. You can also explore managed vs self-hosted game servers for a closer look at operational responsibilities.
Final Thoughts
Setting up a Rust dedicated server involves more than downloading the game files. A reliable installation requires appropriate hardware, correct SteamCMD commands, secure networking, sensible configuration, and a maintenance plan.
Self-hosting is a good fit for technically confident administrators who need operating system access and custom configurations. Managed Rust hosting is often more convenient for communities that want to spend less time maintaining infrastructure.
Whichever route you choose, start with a manageable map and player limit, verify connectivity, protect administrative access, and establish reliable backups before opening your server to the public.