An unmanaged dedicated server gives you full control over your operating system, software stack, security policies, and infrastructure configuration. But that freedom also comes with responsibility.
Unlike managed hosting, an unmanaged dedicated server usually requires you to handle system updates, SSH access, firewall rules, monitoring, backups, and recovery planning.
The biggest mistake is not choosing the wrong Linux distribution. It is deploying a production workload before securing the server and establishing a reliable recovery process.
SERVER ACCESS ≠ SERVER SECURITY.
This unmanaged dedicated server setup checklist walks through the essential steps for preparing a new Linux server, from your first login to ongoing maintenance.
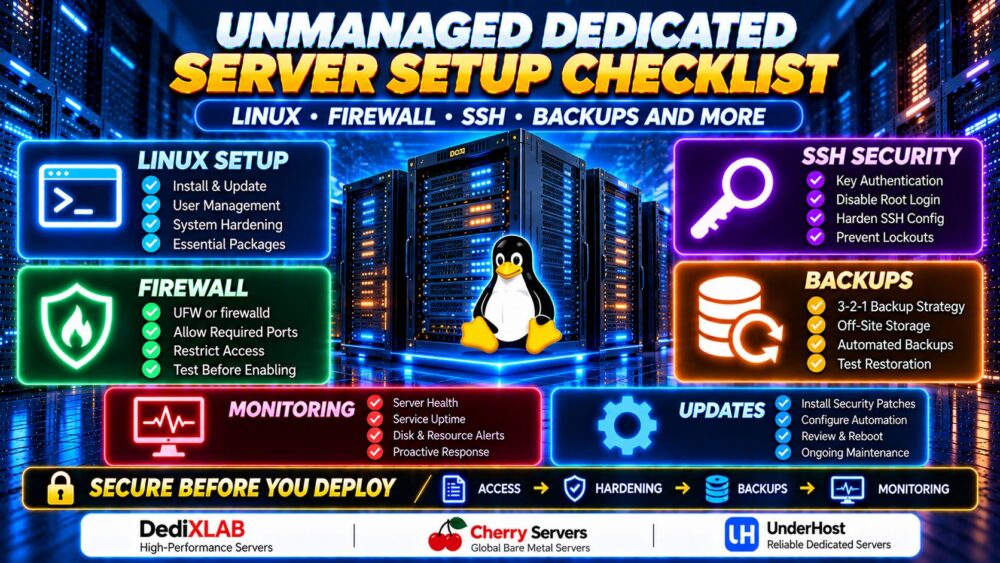
Unmanaged Dedicated Server Setup: Quick Checklist
| Step | Task | Priority |
|---|---|---|
| 1 | Verify server access and recovery options | Critical |
| 2 | Check Linux version, disks and network | Critical |
| 3 | Install security updates | Critical |
| 4 | Create a non-root administrative user | Critical |
| 5 | Configure SSH key authentication | Critical |
| 6 | Harden SSH after testing access | Critical |
| 7 | Configure the Linux firewall | Critical |
| 8 | Enable appropriate update automation | High |
| 9 | Configure backups and test restoration | Critical |
| 10 | Set up monitoring and alerts | High |
| 11 | Review logs and unnecessary services | High |
| 12 | Document and test recovery procedures | Critical |
If you are unfamiliar with the responsibilities involved, start with our Unmanaged Dedicated Server Explained guide before deploying a production workload.
1. Verify Server Access Before Changing Anything
Before installing software or changing security settings, confirm that you can access the server and recover it if remote SSH access fails.
Collect the following information:
- Public IPv4 and IPv6 addresses, if assigned
- Initial administrative login credentials
- Installed Linux distribution and version
- Provider control panel access
- Remote console, KVM or IPMI availability
- Rescue mode or recovery environment options
- Hardware configuration and disk layout
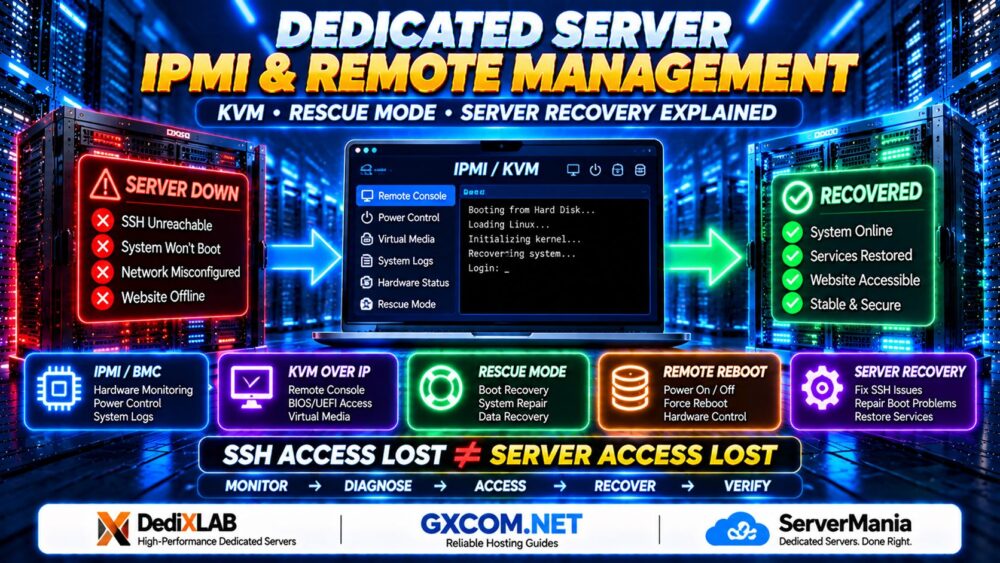
If your server becomes inaccessible after an SSH or firewall change, read our Dedicated Server IPMI and Remote Management Guide to learn how KVM consoles, rescue mode and hardware management tools can help restore access.
Remote console access is particularly valuable. A firewall mistake or invalid SSH configuration can disconnect you from the server.
Some bare metal providers offer remote console or rescue capabilities, but availability depends on the product and service plan.
When comparing infrastructure providers such as DediXLAB, Cherry Servers, and UnderHost, verify their current server management tools, operating system options, hardware specifications, and recovery procedures before ordering.
Important: Keep your existing SSH session open while testing configuration changes in a second session.
2. Check Your Linux Installation and Hardware
Confirm that the server has the expected operating system and hardware resources.
Check Linux Version
cat /etc/os-release
uname -r
hostnamectl
Check CPU, RAM and Storage
lscpu
free -h
lsblk
df -h
Check Network Configuration
ip addr
ip route
ss -tulpen
Compare the results against your server order. Verify disk capacity, network interfaces, and whether any unexpected services are listening on public interfaces.
If you are still evaluating hardware specifications, our Dedicated Server Hardware Guide explains CPU generations, RAM, NVMe storage, RAID, and network requirements.
3. Install Linux Security Updates
A freshly deployed operating system may already have security updates available.
Ubuntu and Debian
sudo apt update
sudo apt upgrade
Rocky Linux and AlmaLinux
sudo dnf upgrade
Review the proposed package changes before confirming installation.
Some updates may require restarting services or rebooting the server, especially after kernel changes.
For production workloads, schedule updates during a maintenance window and confirm that backups and recovery access are available.
4. Create a Non-Root Administrative User
Routine administration should not require direct root login.
On Ubuntu or Debian, create a separate administrative account:
sudo adduser adminuser
sudo usermod -aG sudo adminuser
On Rocky Linux or AlmaLinux, the administrative group is commonly wheel:
sudo useradd -m adminuser
sudo passwd adminuser
sudo usermod -aG wheel adminuser
Replace adminuser with your preferred username.
Test that the account can run approved administrative commands:
sudo whoami
The expected result is root.
Do not disable direct root SSH access until the new administrative account has been tested successfully.
5. Configure SSH Key Authentication
SSH keys provide a more secure authentication method than relying only on passwords, provided private keys are protected appropriately.

Generate an SSH Key on Your Local Computer
ssh-keygen -t ed25519
Use a strong passphrase and keep the private key on your trusted device.
Do not generate your only administrative private key on the server itself.
Copy Your Public Key to the Server
On systems with ssh-copy-id available:
ssh-copy-id adminuser@SERVER_IP
Replace SERVER_IP with your server's actual IP address.
On Windows, you can also use an OpenSSH-compatible client and manually install the public key in the user's ~/.ssh/authorized_keys file.
Test Key-Based Login
ssh adminuser@SERVER_IP
Open a new terminal window and confirm that the key works before changing SSH authentication settings.
6. Harden SSH Without Locking Yourself Out
Once key-based login and sudo access are working, review your SSH server configuration.
On Ubuntu and Debian, SSH settings are commonly stored in /etc/ssh/sshd_config, with additional settings potentially loaded from /etc/ssh/sshd_config.d/.
Back up the existing configuration before editing it.
sudo cp /etc/ssh/sshd_config /etc/ssh/sshd_config.backup
For an environment that has been tested with SSH keys, consider these settings:
PermitRootLogin no
PasswordAuthentication no
KbdInteractiveAuthentication no
PubkeyAuthentication yes
Check for conflicting directives in included configuration files. On some distributions, an included configuration file may take precedence over settings in the main file.
Before reloading SSH, validate the configuration:
sudo sshd -t
On Ubuntu or Debian, reload the service if the configuration test succeeds:
sudo systemctl reload ssh
On Rocky Linux or AlmaLinux, the service is commonly named sshd.
Verify the effective settings with sshd -T, then open another terminal and confirm that your administrative account can still connect.
Never close your existing working SSH session until the new connection has been verified.
7. Configure the Linux Firewall
A dedicated server should expose only the network services required by its workload.
Firewall configuration depends on the Linux distribution and the firewall framework already installed.
Ubuntu and Debian: UFW
On a system using UFW, allow SSH before enabling the firewall:
sudo ufw allow 22/tcp
sudo ufw default deny incoming
sudo ufw default allow outgoing
sudo ufw enable
sudo ufw status verbose
Port 22 is the default SSH port. If your server uses a different SSH port, adjust the rule before enabling UFW.
For a public web server, allow HTTP and HTTPS only if required:
sudo ufw allow 80/tcp
sudo ufw allow 443/tcp
For greater protection, consider restricting SSH access to trusted administrator IP addresses, especially when those addresses are stable.
Before enabling firewall rules, check whether your provider uses additional network firewalls or management services that require specific access.
Rocky Linux and AlmaLinux: firewalld
For systems using firewalld, first identify the active zone:
sudo firewall-cmd --get-active-zones
sudo firewall-cmd --list-all
After confirming the appropriate zone and existing SSH access, add the services required by your workload:
sudo firewall-cmd --permanent --add-service=http
sudo firewall-cmd --permanent --add-service=https
sudo firewall-cmd --reload
These commands apply to the default zone. If your public interface belongs to another zone, specify that zone explicitly.
Keep SSH access permitted and verify a second remote connection before making restrictive changes.
FIREWALL ENABLED ≠ ALL SERVICES SECURED.
8. Configure Automatic Security Updates Carefully
Regular patching reduces exposure to known vulnerabilities, but update automation must match the server's workload and maintenance requirements.
On Ubuntu, unattended security updates can be configured using unattended-upgrades:
sudo apt install unattended-upgrades
Review the package's configuration and enabled update sources before activating automated installation.
On RPM-based distributions, administrators can evaluate dnf-automatic where supported.
Automatic patching does not replace monitoring, reboot planning, application compatibility checks, or vulnerability management.
9. Configure Dedicated Server Backups
Backups should be configured before the server begins storing important production data.
For unmanaged hosting, the customer is often responsible for selecting, scheduling, encrypting, monitoring, and testing backups.
Follow the 3-2-1 Backup Principle
- Keep three copies of important data, including the production copy.
- Use two different storage media or independent storage systems where practical.
- Maintain at least one copy off-site.
For higher-risk environments, consider immutable or offline backup copies as additional protection against ransomware and administrative mistakes.
Choose a Backup Tool
Common Linux backup options include:
- Restic: Encrypted, deduplicated backups to supported repositories.
- BorgBackup: Deduplicated and encrypted backup archives.
- rsync: File synchronization, often used as one component of a backup workflow.
- Database-native tools: Consistent database backups and point-in-time recovery where supported.
Simple file synchronization is not automatically a complete backup strategy. A deleted or corrupted source file may also be replicated to the destination.
Test Restoration
A useful backup strategy must answer:
- Can the data be restored to another machine?
- Are encryption keys stored securely?
- Are database backups application-consistent?
- How much data could be lost between backups?
- How long would recovery take?
BACKUP CREATED ≠ BACKUP VERIFIED.
Test restoration periodically and document the procedure.
10. Set Up Monitoring and Alerts
Without monitoring, a server can run out of storage, exhaust memory, or experience service failures before anyone notices.
At minimum, monitor:
- CPU utilization and load
- Memory usage and swap activity
- Disk space and inode usage
- Disk health and I/O errors
- Network traffic and connectivity
- Web server and database availability
- Backup job success or failure
- Operating system security updates
Common tools include Prometheus, Grafana, Zabbix, and lightweight availability monitoring services.
Configure alerts that reach an administrator outside the affected server. Alerts stored only on the failed server may be useless during an outage.
11. Review Running Services and System Logs
Every unnecessary exposed service increases operational complexity and may expand the attack surface.
List running services:
systemctl --type=service --state=running
Check listening ports:
sudo ss -tulpen
Review recent system errors:
sudo journalctl -p err -b
Disable services only after confirming they are not required by the operating system, hosting control panel, or application stack.
Consider login protection tools, centralized logging, and file integrity monitoring where appropriate.
12. Prepare a Disaster Recovery Plan
Even a correctly configured dedicated server can experience hardware failure, network interruption, accidental deletion, or software corruption.
Your recovery plan should document:
- Provider support and escalation contacts
- Remote console and rescue access
- Operating system reinstall procedures
- Disk layout and RAID configuration
- Infrastructure configuration backups
- Application deployment instructions
- Database restoration steps
- DNS and IP address dependencies
- Recovery time and recovery point objectives
For an overview of provider selection and bare metal infrastructure, see our Bare Metal Server Providers Comparison.
Common Unmanaged Dedicated Server Setup Mistakes
- Disabling password authentication too early: Confirm SSH keys work first.
- Enabling a firewall before allowing SSH: Always preserve remote access.
- Using root for everyday tasks: Create a dedicated administrative account.
- Assuming RAID replaces backups: Maintain independent copies.
- Ignoring IPv6: Apply appropriate access controls to every enabled network protocol.
- Exposing databases publicly: Restrict database access unless external connectivity is genuinely required.
- Skipping monitoring: Detect failures before they become prolonged outages.
- Failing to test recovery: Document and rehearse restoration.
Should You Choose Managed or Unmanaged Dedicated Hosting?
Unmanaged dedicated hosting is often suitable for system administrators, development teams, and businesses that need direct control over Linux configuration.
However, it requires time, expertise, and a clear maintenance process.
If your team cannot reliably manage updates, firewall rules, backups, monitoring, and incident response, a managed plan may be a better operational fit.
Our Managed Dedicated vs Unmanaged Dedicated guide explains the differences in responsibilities, control, and support.
Unmanaged Dedicated Server Setup FAQ
What should I do first after buying an unmanaged dedicated server?
Verify server access, recovery options, operating system details, and hardware specifications before changing SSH or firewall settings.
Should I disable root SSH login?
For most standard administrative setups, disabling direct root SSH login is a sensible hardening measure after a non-root account with working sudo and SSH key access has been verified.
Is SSH key authentication safer than passwords?
Properly protected SSH keys can reduce password-guessing risks. Protect private keys with strong passphrases and restrict access to trusted devices.
Should I use UFW or firewalld?
Use the firewall framework supported by your Linux distribution and existing server configuration. Ubuntu commonly uses UFW, while Rocky Linux and AlmaLinux commonly use firewalld.
Does an unmanaged dedicated server include backups?
Not necessarily. Backup storage and management may be separate services. Verify the provider's plan and configure independent recovery copies.
Can I host WordPress on an unmanaged dedicated server?
Yes. You can deploy a compatible web server, PHP runtime, database, and WordPress installation, but you are responsible for ongoing security, updates, performance, and recovery unless additional management services are purchased.
Do I need a control panel?
No. A Linux dedicated server can be administered through SSH and automation tools. A control panel may simplify certain hosting tasks but adds software, licensing, and maintenance considerations.
How often should I test backups?
Test restoration on a schedule appropriate to the value and change rate of your data. Critical workloads may require more frequent automated verification and recovery exercises.
Final Checklist: Secure Your Server Before Production
An unmanaged dedicated server offers flexibility and control, but a secure deployment requires more than installing Linux and launching a website.
Start with reliable access and recovery options. Then verify your hardware, update the operating system, create administrative users, secure SSH, configure firewall rules, establish backups, and activate monitoring.
For additional guidance on server hardware and infrastructure requirements, explore our Dedicated Server Hosting Guide.
ACCESS → HARDENING → FIREWALL → BACKUPS → MONITORING → RECOVERY.
The best time to prepare for a server failure is before your first production deployment.